
Parts used:
- Various power and data cables and wires.
- Trulink 2-Port DVI KVM Switch #52049.
- Existing monitor, keyboard, mouse, Ethernet router, UPS.
There are lots of wires to connect. In general, everything that needs power gets connected to a power supply cable and anything that needs data gets connected to the motherboard, including the case fans and the front panel lights and switches e.g. the power on switch, the reset switch, the hard drive activity light and the power on light. It takes a careful reading of the drawings provided with the case and the motherboard manual to get these right. But I was fairly confident when I was done that things were hooked up correctly. A mistake here can be expensive -- smoke is a good clue you have made a mistake!
I didn't try to be neat, if something didn't work everything might have to be taken apart so dressing up the cables wasn't a concern at this point. The case fans were not hooked up to the fan controller unit, the fans were just temporarily powered up from the nearest convenient molex connector. The case light and hookup to the mini switch bus will be done later too. Audio hookup is another thing to come later. The goal now is to just fire it up, look through and configure BIOS if it boots up, then, if everything looks good, put the Vista DVD in and try to get to the VISTA desktop. The computer will be connected to my Internet connection via my Ethernet router, so if things are really working well, I might try to surf the net too!
Since my computer plans are to keep my old computer running and share the mouse, keyboard and monitor with my new gaming PC, before I could try out the gaming PC I had to install a magic box called a KVM switch. This stands for (k)eyboard, (v)ideo, and (m)ouse switch. The Trulink 2-Port KVM switch I installed is designed for digital video (DVI), this is needed so that it will work with the digital LCD display I already use (a 19 inch Hyundai 1280 x 1024 LCD display).
I also have an extra old, but still capable, APC 650 watt battery backed UPS (uninterruptible power supply) that should provide good electrical and surge protection to the gaming PC. I have a sister unit running the old PC.
Finally, everything is buttoned up and ready. This is exciting, will it work? What if it doesn't? Ready...push the power on button...nothing. Nada. Zip. Not a spark of life.
OK...not good but the equipment only works if you do everything right. I am thinking the trickiest part was hooking up the front panel devices which includes the power on button. I'll start there. Lets look over everything on the back panel connected with getting power before diving in. Wait a minute...what about the power on switch on the back of the computer that is normally left on. Of course it is off!
Lets turn it on and try again. Wahoo...it lives!!!!!
The bios appears, the CPU and memory are working, the hard drives and optical drives are correctly identified, of course the video card must be working (at least the VGA part) otherwise I couldn't see the Bios screen. The hard drive and power on LEDs are working. The system is quiet, I check and feel air flow at the four case fan openings. Add the power supply to the list of stuff that seems to be working. Most of my big worries are gone as everything major seems to working. I'll set the BIOS clock, let it "burn-in" for a while to make sure there are no obvious problems and then configure the initial BIOS settings in more detail. After that I'll try to get Vista working.
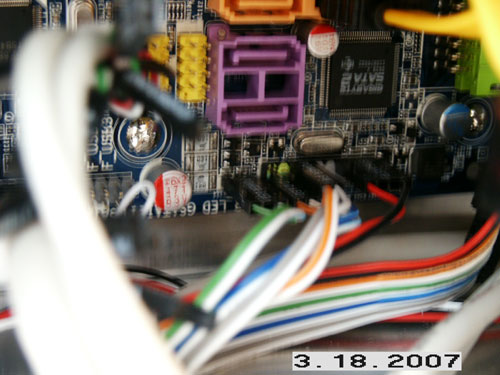
Motherboard connections to front panel switches and lights. Lots of small but important connections -- slow down and get them right the first time. Slow and right beats fast and wrong.!
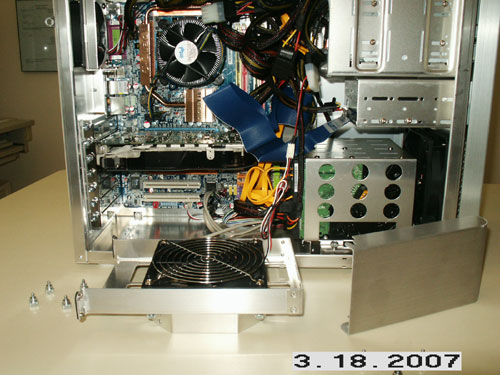
Side fan and rear fan shroud ready for installation.
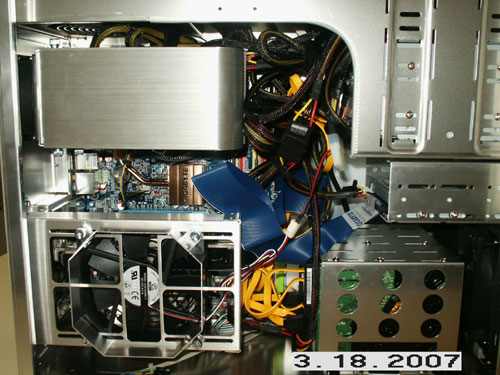
All hooked up and ready to go.
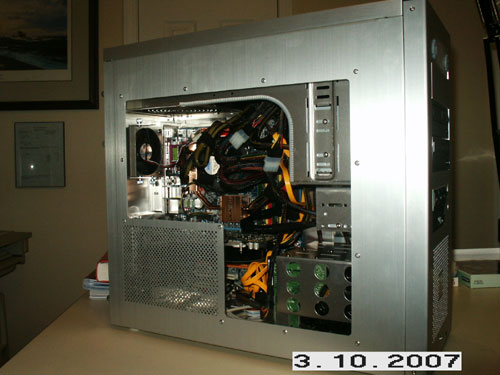
All the covers installed.
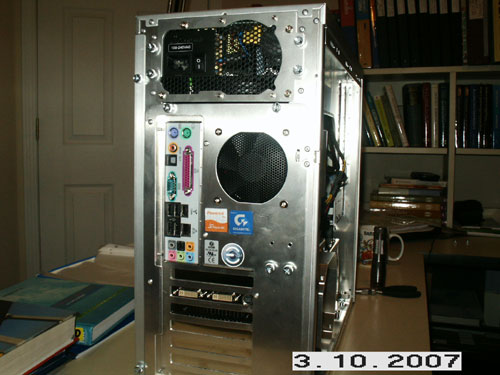
Rear view - note the I/O switch on the power supply - don't get excited and forget to turn it on :-).
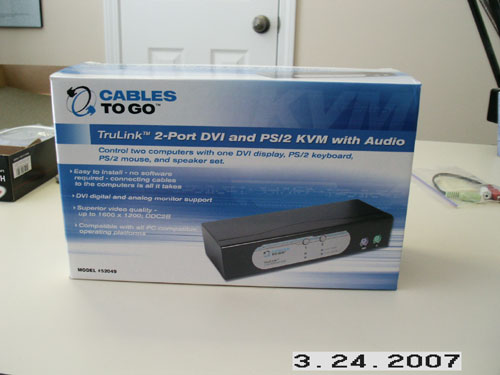
The digital KVM switch in its box.
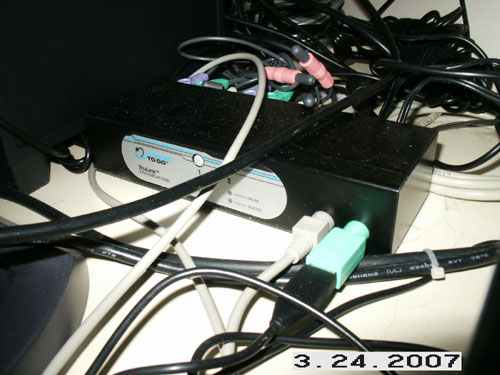
The KVM switch installed behind the monitor - lots more wires!
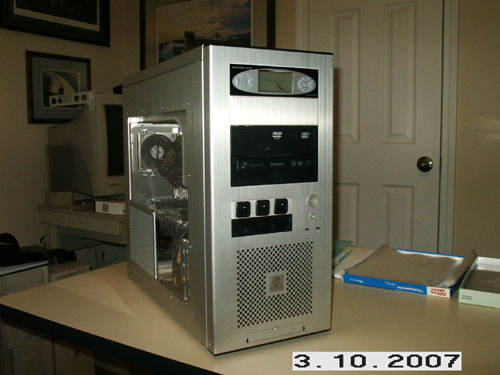
Good to go! Ain't she purty?
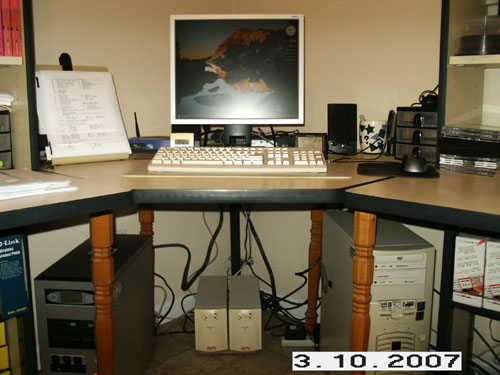
Running great! Under the desk left-to-right are the new gaming PC, twin battery backed power supplies, and the old PC. Behind the monitor are the Ethernet router and the KVM switch.